A person removes one plant out of a tray of young vegetable transplants that is sitting on the soil of a garden bed.

Vegetable transplants ready for planting outside. Photo via Adobe Stock.

Updated: May 15, 2026

Vegetable plants that have a relatively long period from seed to harvest should be started indoors and transplanted outside as seedlings (also called transplants or starter plants). Tomatoes, peppers, eggplants, cabbages, broccoli, and most herbs fall into this category. You can also grow or buy melon, squash, kale, lettuce, and other vegetable transplants.

Transplants fill a garden space quickly, with no need to thin out excess seedlings compared with direct-sown vegetable seeds. Use the Vegetable Planting Calendar for guidance on when to put transplants into your garden.

Transplants raised indoors or in a greenhouse should be exposed gradually to outdoor temperatures and conditions.

Hardening-off vegetable transplants

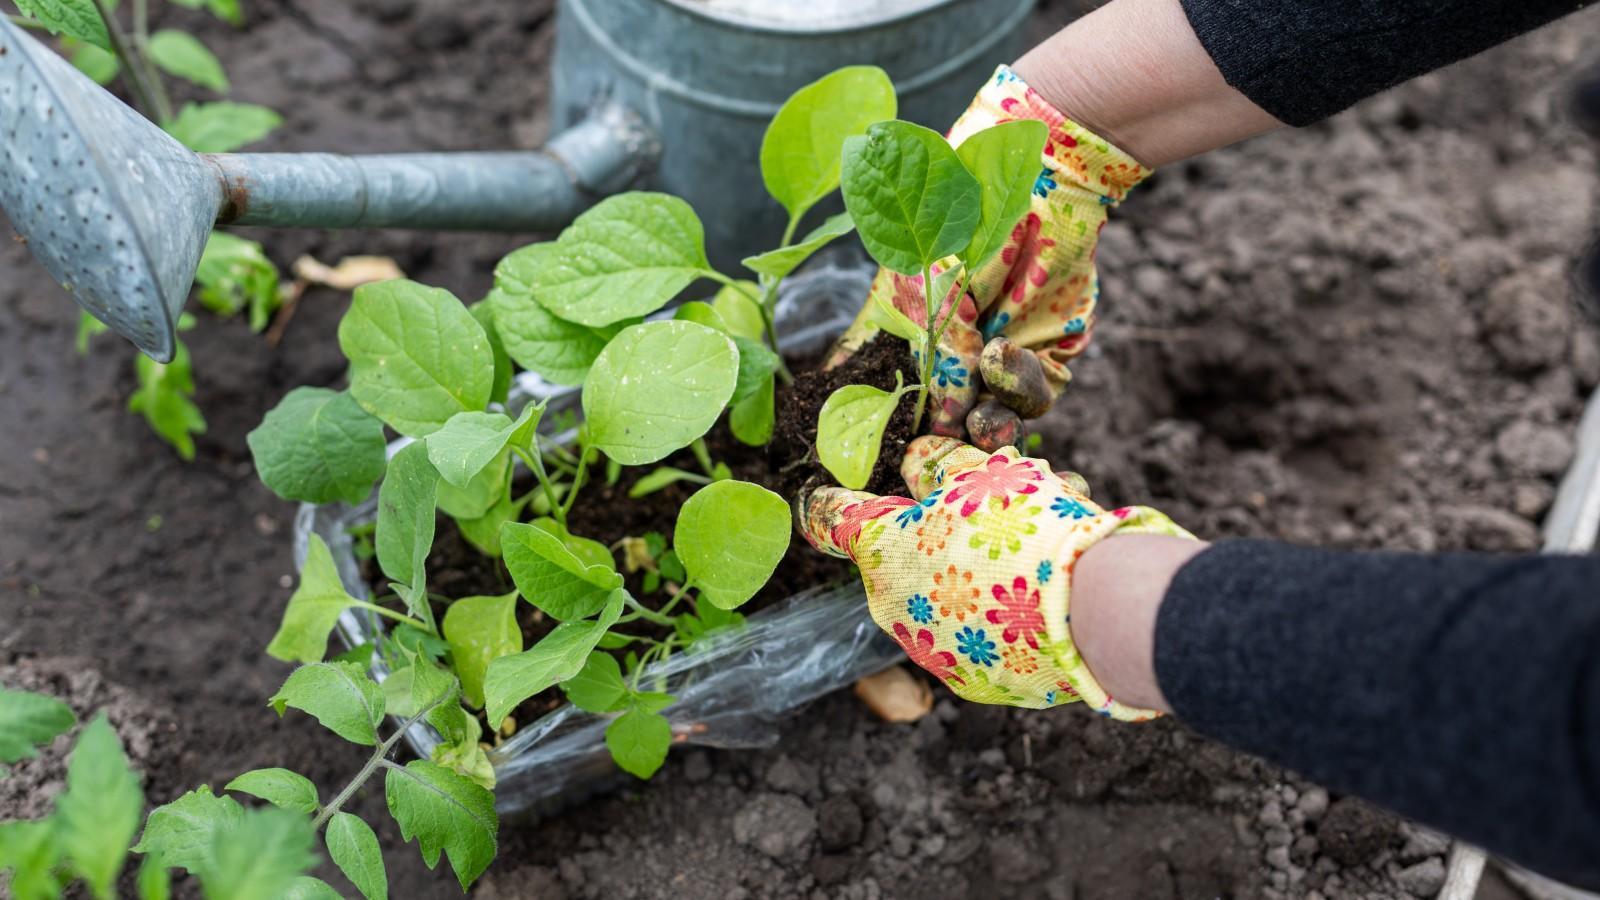
Hardening-off is the process of gradually acclimating an indoor- or greenhouse-grown transplant to the harsher spring conditions in the garden. Hardening-off slows growth and causes soft, succulent tissue to toughen. This can be done over a 5- to 14-day period, depending on the crop, before transplanting into the garden.

The hardening process is intended to slow plant growth while plant tissues adapt to new environmental conditions. If carried to the extreme of stopping plant growth, significant damage can be done to certain crops. For example, cauliflower will produce thumb-sized heads and fail to develop further.

Tall vegetable transplants grouped on a porch and sheltered under a piece of gauzy row cover fabric.
Large transplants of warm-season crops hardening-off on a porch. The row cover protects the plants from animals and cool temperatures.
Photo: Jon Traunfeld
Containers of vegetable transplants clustered on a home deck beneath mesh patio chairs.
Warm-season vegetable transplants set under deck chairs as a shield from direct sunlight and heavy downpours during the hardening-off process.
Photo: Jon Traunfeld

Acclimation process

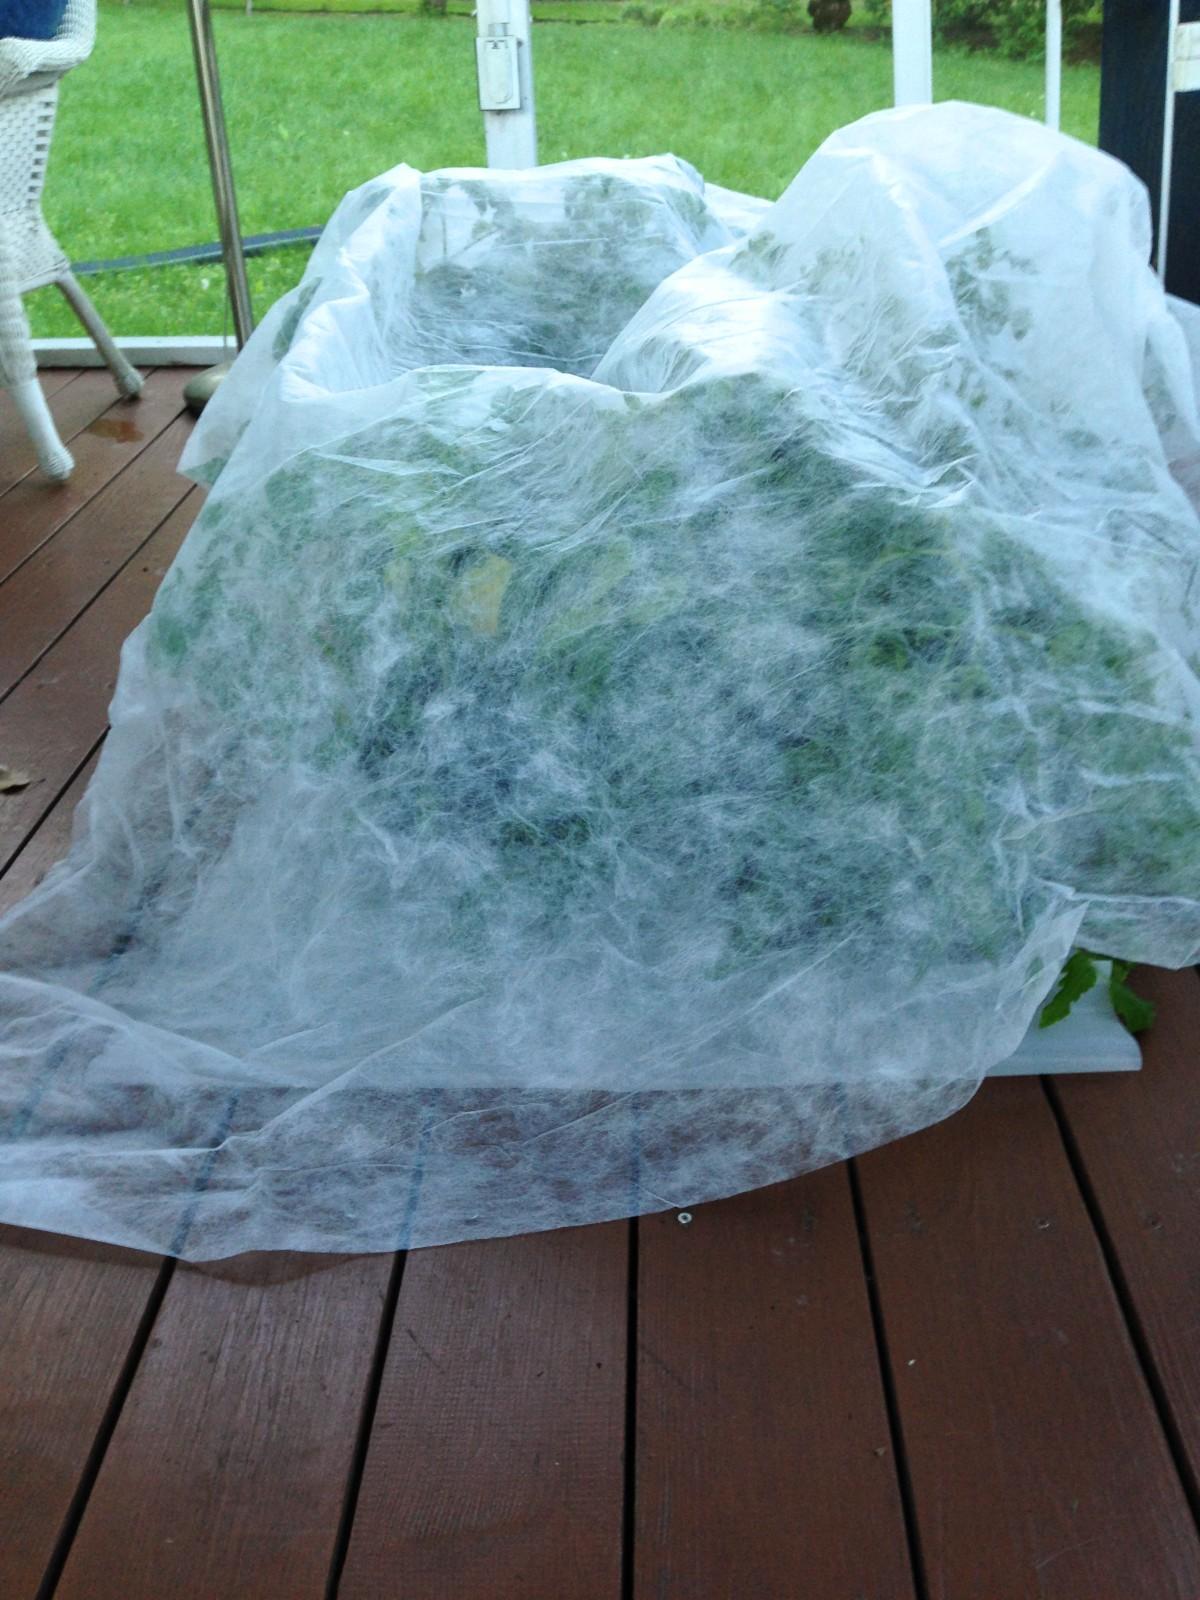
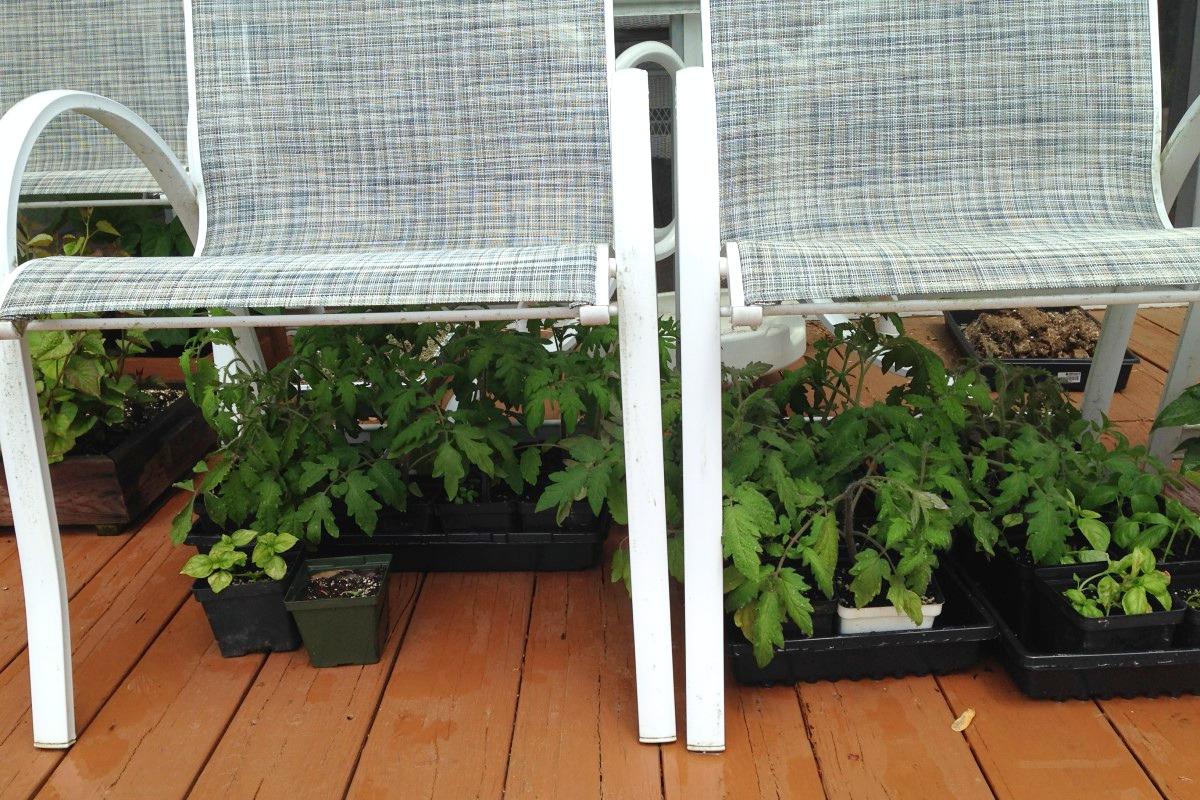
  • Place the transplants outdoors in a shaded, wind-protected area for part or all of the day.
  • Bring transplants back indoors at night:
    • Cool-season crops (like lettuce and cabbage) should come inside at night if the temperature is expected to get below freezing.
    • Warm-season crops (like tomato and pepper) should come inside at night if the temperature is expected to get below 50°F.
    • Don’t put tender seedlings outdoors on windy days or when temperatures are below 45°F. Even cold-hardy vegetables can be injured if exposed to freezing temperatures before they are hardened-off.
  • Increase exposure to sunlight by an hour or two each day.
  • Reduce the frequency of watering to slow plant growth, but don’t allow plants to dry so much that they wilt.

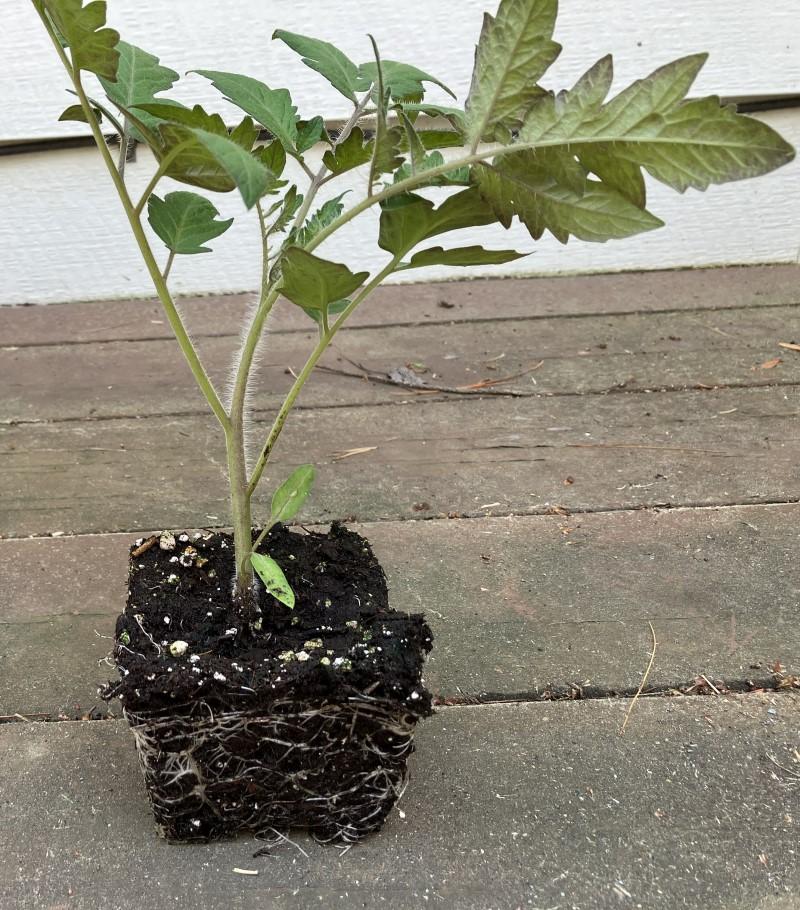
Hardening-off is especially important for cabbage, broccoli, and cauliflower transplants. Stressors like cold air temperatures, wind, and cool soil can greatly reduce the yield of these crops. After proper hardening, tomato plants can usually tolerate light and unexpected frosts with minimum damage.

It is not as important to harden-off warm-season transplants (pepper, squash, tomato, eggplant) if you plant them after any danger of frost, when the soil is sufficiently warm (above 60°F), and give them the water, proper spacing, and nutrients they need to grow quickly.

Transplanting tips

Selecting good-quality plants

  • Transplants should be stocky (sturdy-stemmed and not lanky or stretched), with deep green leaves and free of pests and diseases.
  • When buying transplants, inspect the roots, which should be white and fibrous. There may be some long roots circling the bottom of the container. Avoid overly-mature plants that have a tough (almost woody-stemmed) appearance and a thick mass of circling roots.

Planting process

A tomato transplant with a sturdy, relatively short stem and several healthy leaves, removed from its pot. Root growth is holding the soil mass in the shape of the pot.
A healthy, compact tomato transplant ready to be planted into garden soil or a container.
Photo: Jon Traunfeld
  • Be prepared to keep plants in a protected location if you need to delay transplanting. Transplants should be shielded from strong sun, heat, or frost, and be checked for water.
  • To reduce stress on the plant that can cause transplant shock, try to plant on a cloudy, calm (windless) day.
  • Water the plants several hours before transplanting. Don’t let them dry out at any time.
  • Handle plants carefully, turning them sideways or upside-down to release them from their containers.
    • Containers made from all-natural materials (like compressed peat, dehydrated manure, or coconut coir fiber) are biodegradable and do not need to be removed. Plant them directly in the garden, first removing the pot base and any rim above the soil line. Removing the base helps roots establish without waiting for the pot to decay fully. Removing the rim prevents desiccation: if the edge of the pot sticks up out of the soil, it acts as a wick for soil moisture and dehydrates the transplant’s root zone.
  • Make sure there is adequate room for the roots in the planting hole: dig a hole large enough to hold the root mass without it being cramped.
    • Tomato plants will develop roots all along the stems. If tomato transplants are very tall, you can dig a trench and lay the stems horizontally into it, leaving only two or three sets of leaves above ground. The buried portion of the stem will grow roots.
  • Backfill the planting hole and press soil firmly around the roots. Water around the base of each plant using a weak liquid fertilizer to give the plant an initial nutrient boost and to settle the soil into any empty spaces. Follow dilution instructions on the fertilizer package label.

Aftercare

  • Protect tender plants from wind and direct sun for a few days after transplanting by covering them with baskets, flower pots, or floating row cover.
  • Water the plants regularly, being careful not to injure stems and roots or dislodge plants. The soil should be uniformly moist but not saturated.

If you buy transplants, save and re-use plastic trays and cell packs to grow your own seedlings for next year’s transplants.

Spacing for vegetable transplants

It is tempting to squeeze more transplants than recommended into a small garden. Deep, fertile soil and good plant care may allow you to condense plant spacing a bit. However, pushing the envelope too far will cause plant health problems and a decline in yield. Follow spacing guidelines in the vegetable profiles and on seed packets. With experience, you can experiment with plant spacing.

Three rows of compact-growing pepper plants in a community garden plot. A foot or more of space is left between the plants.
‘Super Chili’ pepper plants spaced for maximum plant growth with paths that allow the gardener to access plants for watering and harvesting.
Photo: Jon Traunfeld
A jumble of zucchini, cucumber, and sweet potato foliage with no visible space left between the plants.
Overcrowded zucchini, cucumber, and sweet potato plants make plant care difficult and reduce the harvest.
Photo: Jon Traunfeld
Three rows of pepper plants in a raised bed mulched with straw, with each plant spaced a foot or less apart from each other.
Increased plant density from growing three closely-spaced rows of pepper plants in a raised bed.
Photo: Jon Traunfeld

Vegetable crops not planted as seeds

About a dozen young stems emerging from the top of a sweet potato root laid horizontally in a shallow container of potting soil. A hand is holding one stem that was pulled off.
Sweet potato “slips” propagated from the “mother” root are pulled off to be transplanted into the garden.
Photo: Jon Traunfeld

Some vegetables are not grown from seed, so would not be started indoors or in a greenhouse where tender growth would need acclimation. Asparagus, horseradish, rhubarb, potato, garlic, and sweet potato are usually propagated vegetatively (from parts of the plant other than seeds, such as cuttings or divisions). For example:

  • Asparagus, horseradish, and rhubarb are started in the garden from pieces of the crown of the plant, from which new shoots emerge.
  • Potatoes are grown by planting whole or cut-up tubers (called “seed pieces” or “seed potatoes”).
  • Sweet potato “slips” are the shoots or baby plants that grow from the harvested storage roots (the familiar sweet potato itself).
  • New garlic plants are started by dividing dried bulbs into individual cloves and planting those cloves in the fall.

More information can be found in the vegetable crop profiles.

Any plant material (crowns, roots, tubers, bulbs, etc.) sold to start new plants should be certified by the supplier as disease-free.

Two empty 5-pound seed potato bags laid next to two trays holding numerous whole and cut potato tubers.
“Seed potatoes” – potato tubers ready for planting. Small tubers are planted whole; larger tubers are cut into pieces.
Photo: Jon Traunfeld
Whole garlic bulbs in a box and spread on a newspaper-covered table next to a small pile of separated garlic cloves.
A four-pound box of ‘German White’ variety hardneck garlic bulbs. The certified disease-free “seed stock” is being separated into individual cloves for planting.
Photo: Jon Traunfeld

Author: Jon Traunfeld, Extension Specialist (retired), Home/Community Food Gardening. Revised May 2026.

Copy editing by Nancy Klein, Maryland Master Gardener, May 2026.

Still have a question? Contact us at Ask Extension.