
EC-12 ❘ 2021
Grow It Eat It Dry It for Adults (GIEIDI) Instructor Guide
By Beverly Jackey, Dhruti Patel, Lisa McCoy, Karen Basinger and Dr. Shauna Henley
Welcome to University of Maryland Extension’s Home Food Preservation Program: Grow It Eat It Dry It for Adults! Food preservation has become popular among both adults and youth in Maryland. People are interested in knowing where their food comes from and are inspired to learn how to preserve food at home. As a result, many are growing their own gardens, are active in community gardens and are purchasing foods locally from farmer’s markets and Community Supported Agriculture (CSA’s).
Drying is one of the oldest methods for preserving foods. It’s a simple and easy way to take fresh produce and dry and store it to consume later. Dried foods are ideal for snacks or quick foods on the go.
Like other food preservation methods, there are important food safety concerns to address to prevent foodborne illness when drying foods. This curriculum was developed to help Marylanders learn about scientific evidence-based methods for successfully drying foods safely at home.
-
GIEIDI Instructor's Guide
GIEIDI Instructor's Guide -
Workshop Facility Guidelines
Workshop Facility Guidelines -
Working with Adults
Working with Adults -
Grow It, Eat It, Dry It Power Point (PDF)
Grow It, Eat It, Dry It Power Point (PDF) -
Activity List
Activity List -
Resource List
Resource List -
Educator's Checklist
Educator's Checklist -
Additional Equipment/Items to Consider
Additional Equipment/Items to Consider -
Evaluation
Evaluation -
Grow It, Eat It, Preserve It Pamphlet (PDF)
Grow It, Eat It, Preserve It Pamphlet (PDF)
GIEIDI Instructor's Guide
The Educator’s guide contains teaching and marketing tools for Extension Educators to effectively present Grow It Eat It Dry It workshops in their communities. The curriculum includes the following:
- A PowerPoint presentation with educator instructions and notes;
- A literature and online resource list for drying foods;
- Drying handouts for participants; and
- An activities guide to enhance learning experiences for participants.
The PowerPoint presentation includes a history of drying, general steps for drying foods, drying methods and types of foods to dry. Educators have the flexibility to choose the type of drying food activity to demonstrate in workshops.
The curriculum is divided into two main sections:
- Classroom discussions dedicated to teaching basic food safety principles and drying methods.
- Demonstration/hands-on activities providing participants the opportunity to practice safe drying methods or pre-treatment techniques for drying.
The curriculum requires approximately 1.5 to 2 hours to present, depending on the demonstration/hands-on activities and the number of participants in the workshop. A suggested time guideline to follow for workshops is:
- 60 minutes for the presentation and discussion;
- 15-30 minutes for hands-on activity and demonstration; and
- 15-30 minutes for questions, clean up, evaluation, and review.
Workshop Facility Guidelines
The facility used to conduct a drying foods workshop should have a potable (drinkable) water supply, sink, prepping area, access to basic kitchen utensils (refer to the educator’s checklist), cleaning supplies, and a demonstration area.
The GIEIDI curriculum includes a variety of resources that reinforce important principles so participants feel more confident about successfully dry foods at home. These resources include handouts on general food safety, basics of drying foods, drying methods and equipment, and storage. A pre-post and 6-month follow-up evaluation tool are included for Extension educators to administer and assess the impacts of the program.
We recommend that educators use the latest edition of So Easy to Preserve (University of Georgia Cooperative Extension) as a resource for drying food workshops. This resource is referenced throughout the educator’s notes on the GIEIDI PowerPoint presentation.
Working with Adults
The GIEIDI curriculum combines delivery of new information with practical opportunities to apply existing knowledge and experience. Educators should encourage participation during workshops by asking questions and providing opportunities for participants to contribute to discussions. Large groups can be divided into smaller groups to promote conversations and learning from each other. Educators are also encouraged to engage participants in activities. Each workshop can begin with a review of participants’ experiences and ideas about home food preservation. The hands-on component of the workshop is critical. Adults enjoy the opportunity to practice what they learn. Supplemental activities are included in the teaching notes and as a handout in the Appendix.
Activity List
Providing hands-on activities during workshops creates a more open and interactive learning experience for participants. Educators can choose any one of these activities to use as an ice breaker or to enhance a learning goal during the workshop. Consideration should be given to the participants’ interests and time restrictions of the workshop.
1. Introductory Activity
Have each participant introduce themselves and ask: a) Why are you interested in learning how to dry foods? OR b) Can you share an experience you had with drying food? Regardless of experience levels with drying foods, reassure participants that this workshop is appropriate for all levels.
2. Confidence Scale
On a large piece of paper, draw a 4-point scale labeled as: 1- “not at all confident”, 2- “a bit confident”, 3- “confident”, and 4-“very confident.” Have participants write their initials on two different colored sticky notes. Pre-workshop, ask participants to put the first sticky note on one of the four points on the scale that best describes their current level of confidence in drying foods. Post-workshop, ask participants to put the second sticky note on the scale that best describes their level of confidence after attending the workshop. Discuss any changes pre- and post-workshop.
3. Samples of Dried Foods
Place a few dried foods such as apples, green beans, herbs, seeds or beef jerky in sealed separate mason jars to show what these foods look like when dried. Demonstrate shaking the jar to separate the pieces and check for moisture.
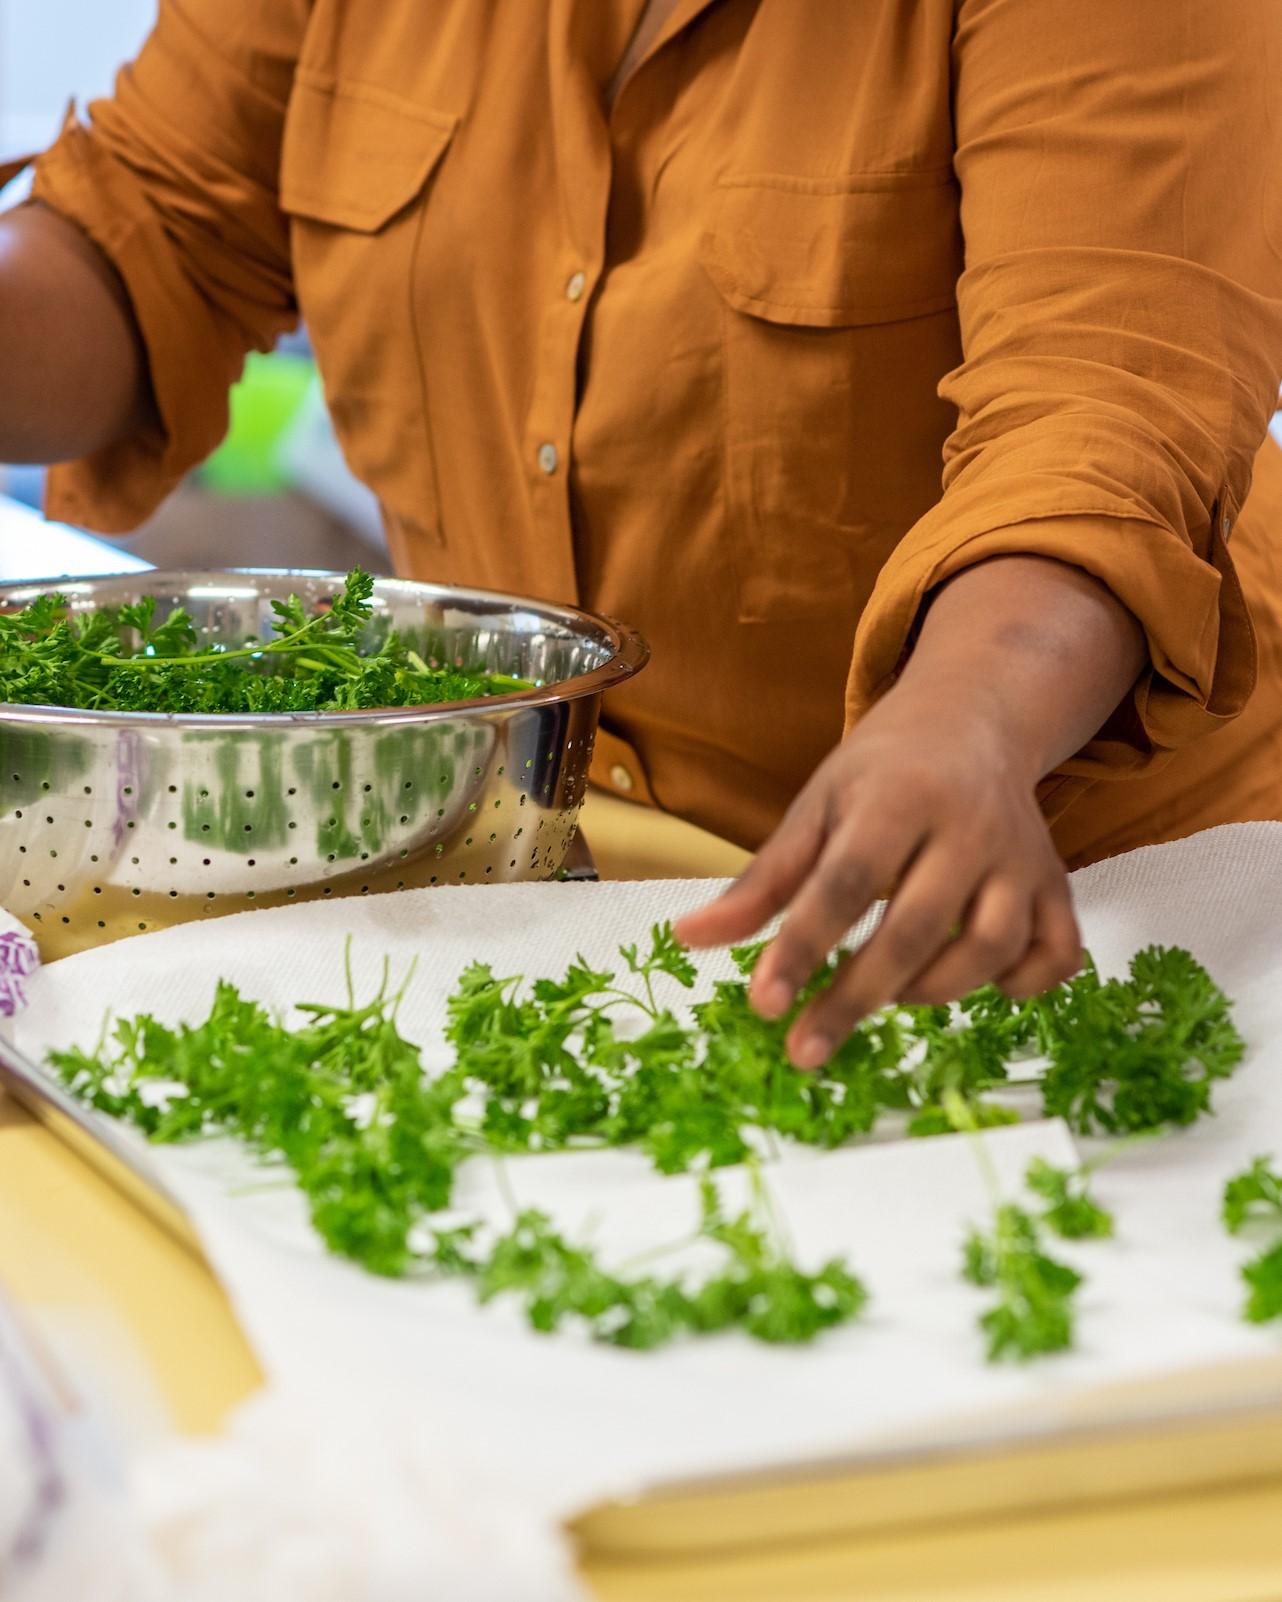
4. Drying Activity for Herbs
Demonstrate or use these as a hands-on experience during the workshop.
- Create two separate variations of drying herbs: 1) microwave drying and 2) electric dehydrator drying. Ask participants to compare appearance, texture, aroma and taste of microwave dried herbs to dehydrator herbs and if there is a difference between the two.
- Prepare a paper bag to room-dry herbs. Let participants prepare their own bag to take home.
5. Pretreatment/packing activity for drying fruit
Demonstrate or use this activity as a hands-on experience. Show specific pretreatments such as sulfur dip, ascorbic acid, fruit juice dips, syrup blanching or steam blanching etc.
Literature Resources
-
USDA Complete Guide to Home Canning
USDA Complete Guide to Home CanningNational Center for Home Food Preservation
-
-
Online Resources
-
-
-
-
-
-
-
-
-
-
-
-
-
-
Handy Reference for Drying Meat Jerky (PDF)
Handy Reference for Drying Meat Jerky (PDF)Cornell Cooperative Extension
-
Making Safe Jerky in a Home Dehydrator
Making Safe Jerky in a Home DehydratorUniversity of Wisconsin-Madison Extension
-
-
Using Dehydration to Preserve Fruits, Vegetables, and Meats
Using Dehydration to Preserve Fruits, Vegetables, and MeatsVirginia Cooperative Extension
-
"How-To" Videos: Food Preservation
"How-To" Videos: Food PreservationUniversity of Maine Cooperative Extension
-
-
-
-
-
-
-
Back to Top
Educator's Checklist
- 1-3 paper towel rolls
- 1-3 paring knives
- 1-2 slotted spoon(s)
- 1-2 mixing spoon(s)
- 1-3 stainless steel bowl(s) of different sizes
- 1-2 ladle(s)
- 1-2 one quart sauce pan(s)
- 1-2 stock pot(s)
- 1 set of measuring spoons
- 1 set of measuring cups
- 1-2 cutting board(s)
- 1 colander/steam blancher
- 1-2 electric food dehydrator (optional- depends on method)
- Assortments of clear glass or plastic storage jars with lids
- 1 box of clear plastic zipper storage bags
- labels
- 2 permanent markers
- 1 timer
- 1 bottle of dishwashing soap
- 1-2 bottles of handwashing soap
Additional Equipment/Items to Consider
- Projection screen
- Projector
- Chart paper and easel
- Sticky notes- two different colors, (refer to the activity list in Appendix II)
- Name tents/tags
- Pens, pencils, and sharpies
- Laptop and laser pointer
- Extension cord
- Power strip
- Small brown paper bags and string (refer to the activity list in Appendix II) for drying herbs
- Baking sheets for fruit leathers
- Food processor for fruit leathers
- Food thermometer for jerky
-
Pre-Evaluation (PDF)
Pre-Evaluation (PDF) -
Post-Evaluation (PDF)
Post-Evaluation (PDF) -
Follow-Up Evaluation (PDF)
Follow-Up Evaluation (PDF)
Beverly Jackey
bjackey@umd.edu
Dhruti Patel
dhrutip@umd.edu
Lisa McCoy
lmccoy@umd.edu
Karen Basinger
kbasinge@umd.edu
Dr. Shauna Henley
shenley@umd.edu
This publication, Grow It Eat It Dry It for Adults (GIEIDI) Instructor Guide (EC-12), is a part of a collection produced by the University of Maryland Extension within the College of Agriculture and Natural Resources.
The information presented has met UME peer-review standards, including internal and external technical review. For help accessing this or any UME publication contact: itaccessibility@umd.edu
For more information on this and other topics, visit the University of Maryland Extension website at extension.umd.edu
University programs, activities, and facilities are available to all without regard to race, color, sex, gender identity or expression, sexual orientation, marital status, age, national origin, political affiliation, physical or mental disability, religion, protected veteran status, genetic information, personal appearance, or any other legally protected class.
When citing this publication, please use the suggested format:
Jackey, B, Patel, D, McCoy, L, Basinger, K, & Henley, S. (2021). Grow It Eat It Dry It for Adults (GIEIDI) Instructor Guide (EC-12). University of Maryland. go.umd.edu/EC-12