Sod advantages and disadvantages
| Advantages | Disadvantages |
|---|---|
| A longer window of opportunity to install sod than with seeding. | More expensive. |
| An instant lawn and faster establishment. | Limited choice of turf cultivars. |
| Immediate erosion control and soil stabilization. | Not always readily available. |
| Fewer problems with weed encroachment during the establishment period. | More labor-intensive to transport and install. |
Sodding tips
- Purchase a high-quality sod. Certified sod is produced under the supervision of the Maryland Department of Agriculture. Certified sod is free from weeds, and undesirable grasses, and has fewer insect and disease problems. Sod fields are inspected before being seeded and periodically during sod production. Search the Maryland Department of Agriculture website for the Maryland Certified Sod Directory.
- The majority of sod produced is a mixture of tall fescue and Kentucky bluegrass and is the most commonly planted. The spreading growth habit of the Kentucky bluegrass knits the sod together. Kentucky bluegrass, zoysiagrass, and bermudagrass sod can also be found. Refer to (PDF) TT-77 Recommended Turfgrass Cultivars for Certified Sod Production and Seed Mixtures in Maryland.
- If possible, inspect the sod before delivery. Sod should be evenly moist, but not soaking wet. Do not purchase sod that looks dried out or has grass blades that are turning yellow; it should be a deep green color.
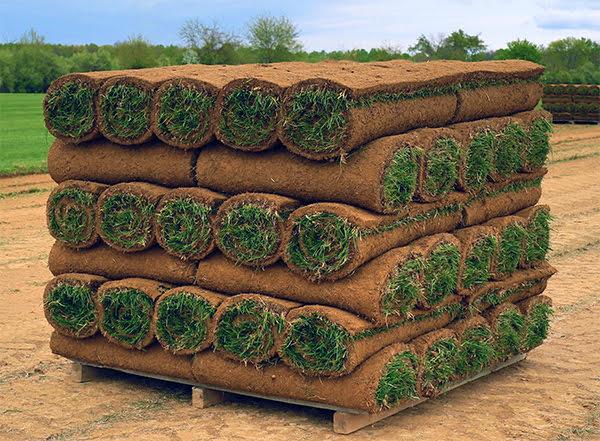
- Sod should be dense and well-knitted so that it can be cut into strips and handled easily. The thickness of the roots and soil should be ½ to ¾ of an inch.
Installing sod
- Starting a New Lawn for site preparation.
- The best time to lay the sod is late summer into the late fall (September-November). Postpone summer installation if temperatures are in the high 80's or 90's. Winter sodding can be successful but is risky due to winter injury and desiccation. And, if needed, the sod would have to be watered.
- Sod is perishable and should be installed immediately after delivery, especially when the weather is hot and dry. If it is necessary to store the sod for a couple of days, lay it out flat (grass side up) in a cool shaded area and do not let it dry out.
- Prepare the planting area in advance of the sod delivery.
- Moisten the bed lightly with water prior to sod installation.
- Use a straight edge such as a driveway or sidewalk as a guide when laying down the first pieces. Lay the next strips close to, but not overlapping, the first.
- Gently tamp down the edges to ensure good contact with the soil.
- Stagger the ends, similar to the pattern used when laying bricks. Use a sharp tool to trim off the excess pieces or to cut pieces to fit irregular spaces.
- Avoid damaging the newly installed sod by using a plank or a piece of plywood to stand or kneel on. This will distribute your weight evenly over a larger area.
- On sloped sites, the sod should be laid perpendicular to the slope and secured to the ground with stakes or landscape pins until the sod is rooted.
- Roll the sod lightly with a water-filled roller.
- Water the sod immediately after installation. Water to moisten the soil below, but do not overwater. Daily watering may be necessary during the rooting process. Never let the sod dry out during the establishment period.
- Sod typically roots in 2-3 weeks. Check for rooting by gently lifting a corner of the sod; if there are some resistance roots are growing. New roots will be white. Stay off the sod until it has rooted.
By Debra Ricigliano, Maryland Certified Professional Horticulturist, University of Maryland Extension Home and Garden Information Center (retired), 2019. Reviewed and edited by Jon Traunfeld, HGIC Director. Based on HGIC publication HG 102 Lawn Establishment, Renovation, and Overseeding.