Need help figuring out image sizes or specifications? Read on.
Different content types and widgets in UMD Extension can require different image specifications to ensure the best display and quality.
This guide will cover:
- Image terminology - defining aspect ratio, focal point, dimensions, and file size.
- Optimizing images - how to avoid blurry images and shrink down huge ones.
- Photography recommendations - choosing high quality, impactful images.
Quick Links
- TinyPNG - a quick and easy tool for optimizing large images
- Pixlr - a free Photoshop-like tool on the web for re-sizing and cropping images
- AGNR Image Library - Copyright free, professional, UMD images
Image Terminology
Aspect Ratio
The relationship between the width and height. Elements can require certain aspect ratios for the best fit. This is different than image dimensions, since images can be different sizes but have the same aspect ratio.
For further reading, check out this article discussing image size and aspect ratio.
Examples
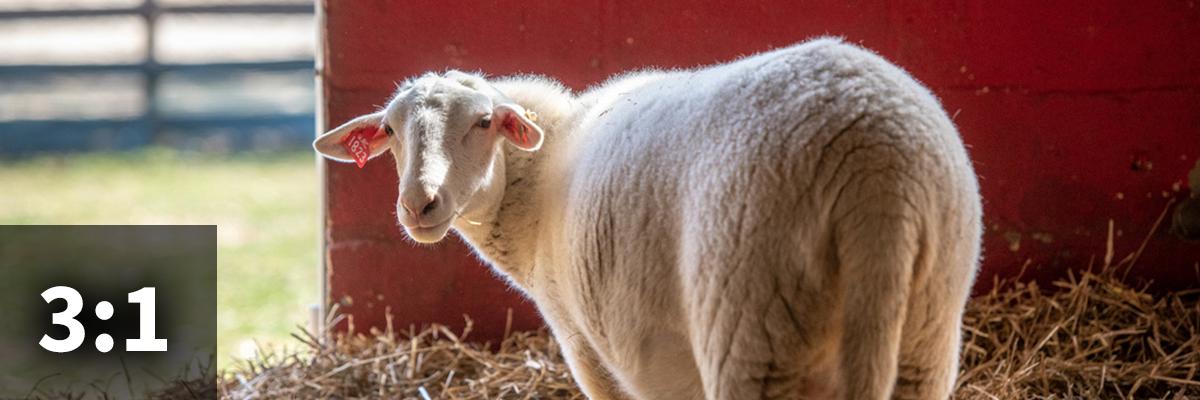
3:1 aspect ratio
This image has a longer width-to-height ratio. This aspect ratio is used for Program and Location page heroes. See example on the Home & Garden Information Center page.
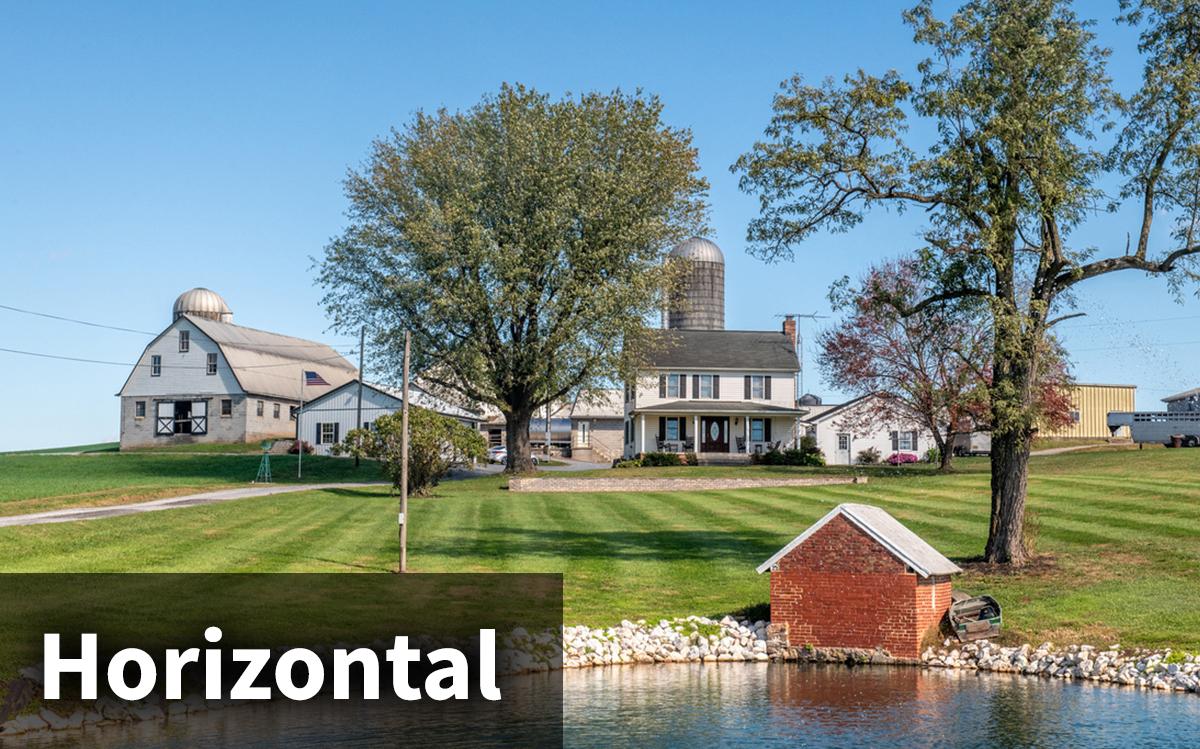
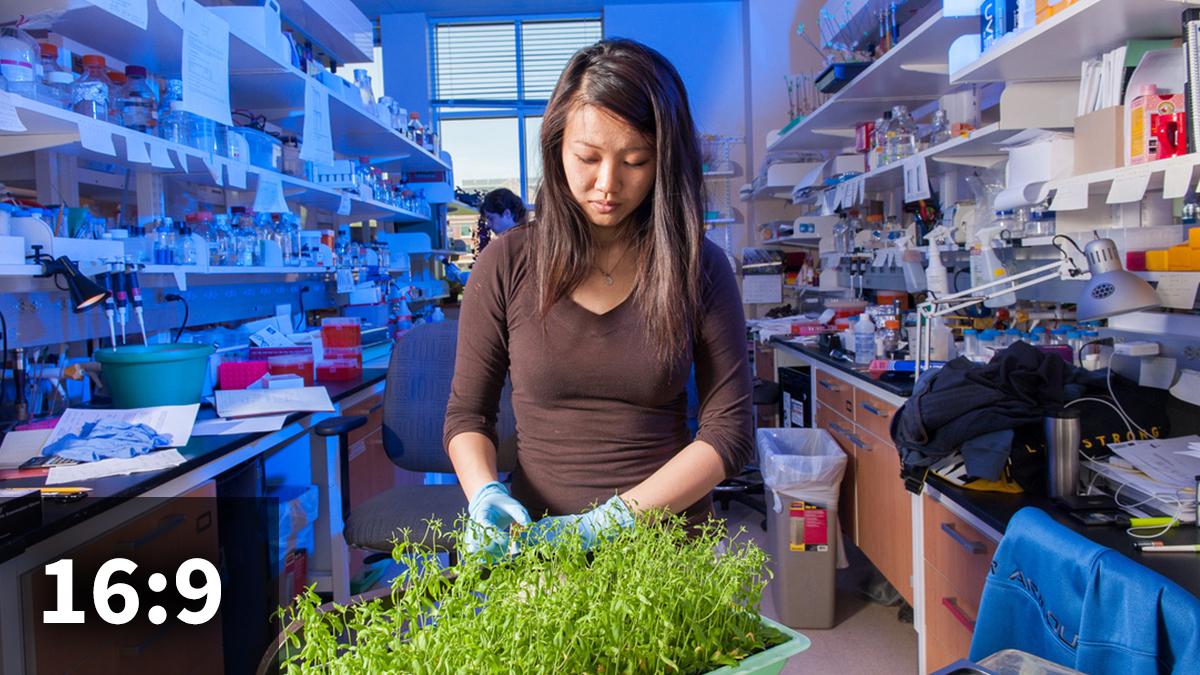
Horizontal aspect ratio
Sometimes images only require a general aspect ratio — a horizontal image just requires that the width be larger than the height. For an example, look at the Image widget on the kitchen sink. A 16x9 aspect ratio is preferred, but any horizontal image will work..
Dimensions
The width and height in pixels (e.g. 600px × 400px). Images should be at least the recommended dimensions, and no smaller. Smaller dimensions can result in pixelated/blurry images.
Examples
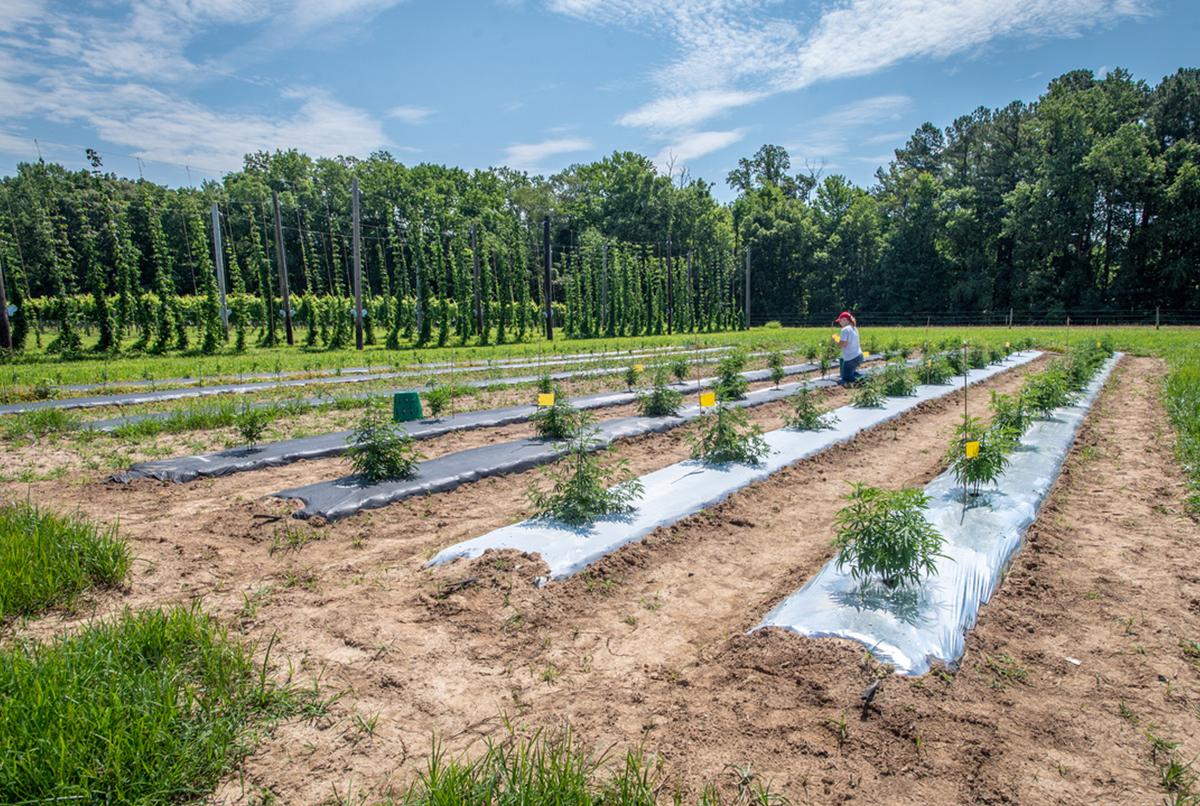
-
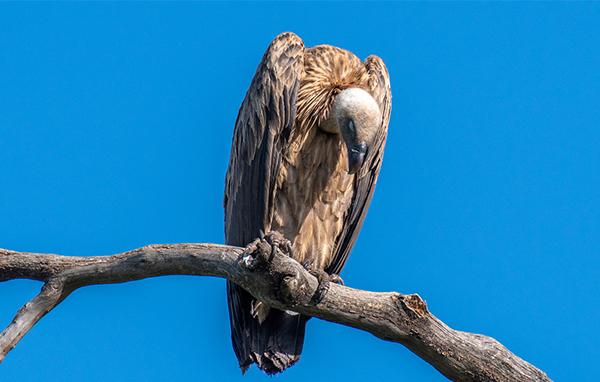
Correct Dimensions
This image is 600 x 382, which means it will be high resolution at all screens sizes.
-
Incorrect Dimensions
This image is 1/3 the size: 200 x 127. This will look blurry on retina screens and when the card is seen larger.
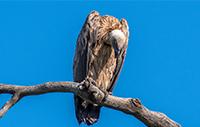
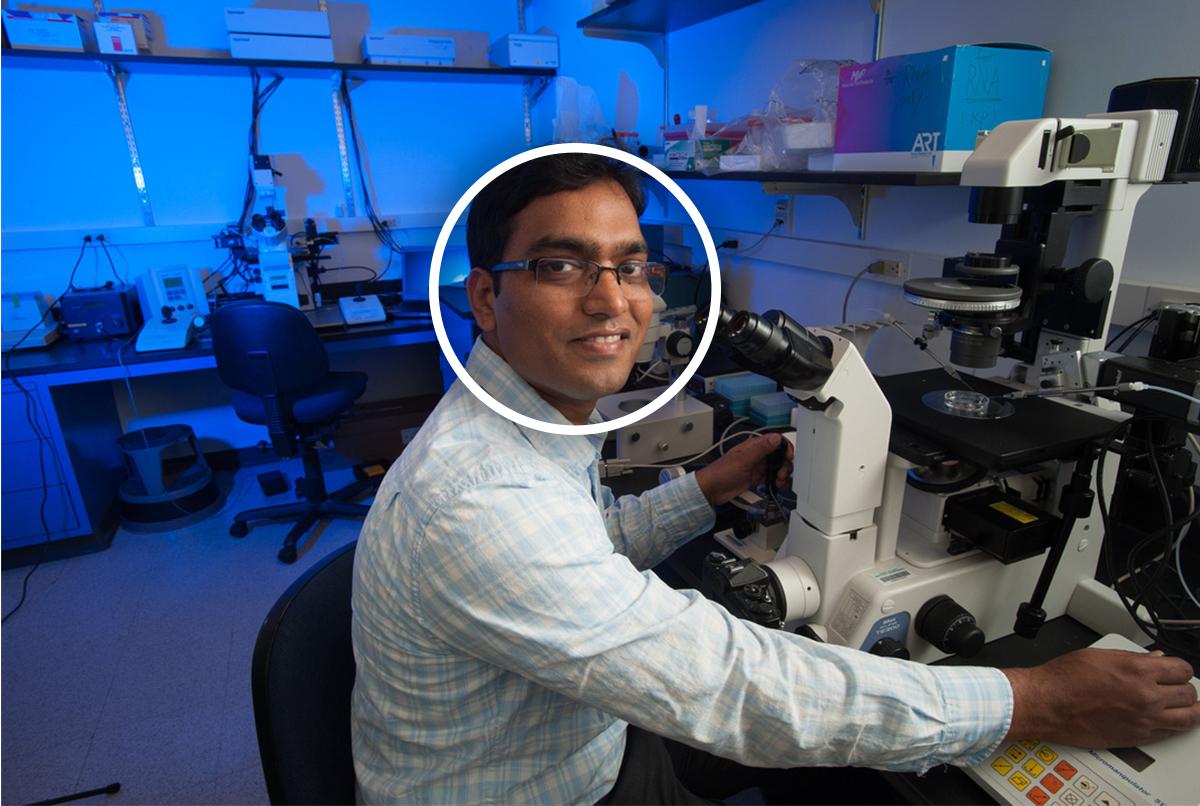
Focal Point
The main point of interest in an image. Some images really rely on focal points, while others don’t. When in doubt, use a centered focal point.
Examples
File Size
The size of the image in KB (e.g. 300 KB). Large images can slow down web pages, and might need optimization.
ⓘ IMPORTANT: The file size limit on the website is 1.5 MB. Avoid files over 1 MB when possible.
If your image dimensions are good to go but it’s too large, use TinyPNG to compress the image.
Optimizing Images
It’s worth repeating: Images that are too large can slow down sites. While it is important to have a good quality image, it needs to have a reasonable file size and dimensions.
Use JPGs unless you really need a PNG
You can adjust the image quality with a JPG in Photoshop (if you have this at your disposal) — but not a PNG. Unless an image needs a transparent background, save your images as JPGs.
Re-size images if they are really large
Pay attention to image recommendations. If an image should be 1920 px wide, don’t save it out at 2500 px.
Tools
- Pixlr (online, free)
- Photoshop
Adjust the quality
Even if you save an image at the right size, you still probably need to adjust the quality.
Tools
Photography Recommendations
Photo choice helps define your site
Users will notice images usually before they read anything on the site. But choosing the right photography can be difficult, even when you have a great library of images to choose from.
Where to get photos
AGNR offers a professional photo archive available to all faculty and staff at agnr.zenfolio.com.
Tips for Choosing and Using Photos
-
Quality is key. A blurry image just doesn’t look professional. Follow image recommendations for size and aspect ratio in this style guide and in the website CMS — and reach out if you need help.
-
Make it relevant to your content. Images are usually the first thing users notice. Does it make sense with the text around it? How do featured images look in a search result? Do you need a caption to help explain it?
-
If using stock images — choose wisely! Users can spot “stocky” images from a mile away. If you need to use stock, take extra care to choose unique subjects and settings.
-
Should be on-brand for UMD. Especially if you’re using photos that represent the university. Also see #3 — stock images should also be on-brand.
-
Check if you have permission. Make sure you have the right permissions to use an image — don’t just download from a Google image search or off someone’s site. Copyright free permissions are granted for all images in the AGNR image library.
-
Too dark? Colors off? You can fix it! You don’t need to be a designer to tweak an image that’s a little washed out or has some weird colors. Use a free tool like Pixlr to make minor adjustments.
-
Avoid image collages. Combining multiple images into a grid can look really busy, especially if that image is shown small (see example of a collage). Stick to using one image. Simple!
-
Empty space ≠ filler image. Images should always be supporting your content, and not used for decoration. If you want to fill space with an image, describe it with a meaningful caption or blurb around it.