Introduction
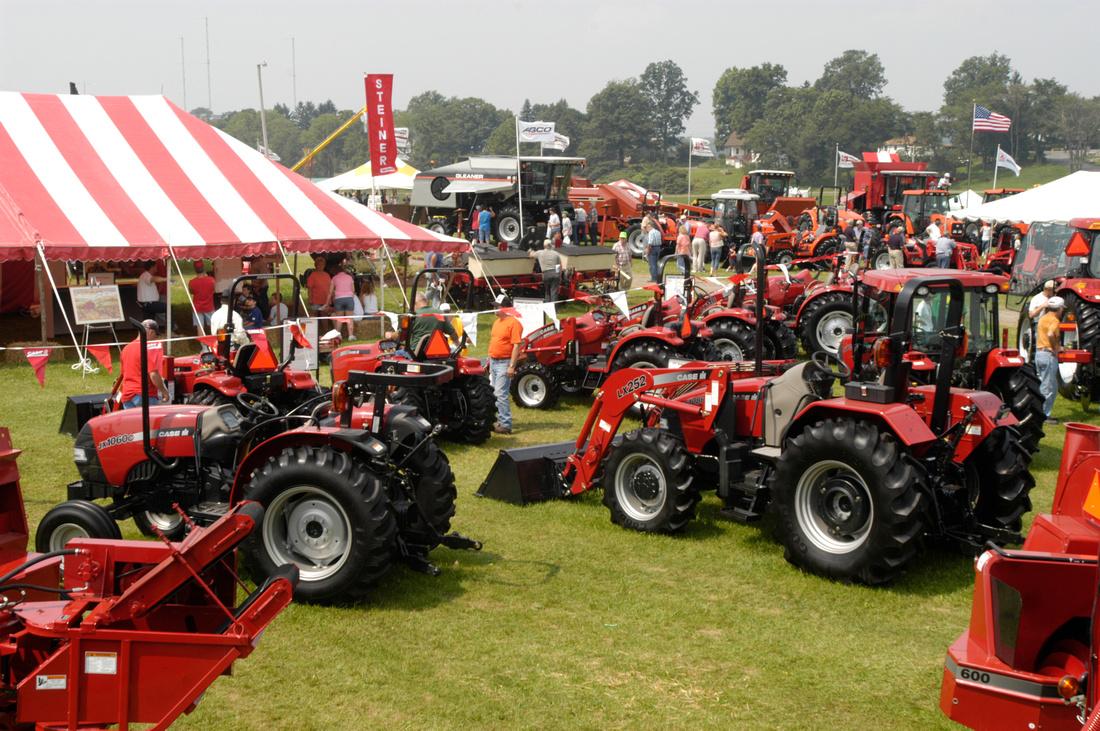
Ever wandered around a farm show or equipment dealer admiring all of the new and fancy gadgets available to farmers today? So many choices, yet so little money! Small farmers must be especially careful of expensive machinery purchases as they buck the traditional “bigger is better” trend of large farmers with mega equipment, some pulling plows and harrow’s wider than your whole field. However, as a small farmer you will take the opposite approach, limiting large equipment options and focusing on specialized, value-added processes to garner more dollars from less land. Indeed, the cost of equipment today requires the successful small farmer to be both prudent and wise in equipment selection. What equipment is essential for the operation of the small farm? How can you avoid the common mistake of purchasing more equipment than the farm can support?
Do Your Homework
Any discussion on equipment must first begin with the understanding that no operation is exactly similar, and equipment needs and preferences will vary. Given the tremendous variation of equipment, from brands to implement type to condition, it is critical to understand the importance of researching the various options. Spend the time to visit different farming operations, farm shows, and equipment dealers to obtain a good feel for exactly what you need. Often, you may be able to rent or loan a piece of equipment before purchasing to determine if it works for your conditions.
Essential Equipment
The below discussion summarizes essential equipment for a five-acre vegetable farm using intensive production techniques.
Tractor
The tractor serves as the heart of many farm operations. Not only is a tractor needed for pulling various farm implements, it can also serve as a power unit for stationary operations as well. Vegetable operations require a tractor that is, most importantly, reliable. Harvest and planting activities cannot wait while a part is shipped in, the battery charges overnight, or a hydraulic hose is fixed. Thus, be sure to obtain a tractor in good condition. When buying used equipment, you should be comfortable assessing tractor condition or have someone knowledgeable do it for you. As one farmer exclaims, “The only thing worse than sitting on a wet tractor seat on a cold morning is sitting on a tractor with a wet seat that won’t start either!”
Diesel tractors are preferred over gas due to the fuel efficiency and durability. It is also important to properly size the tractor. A 40-50 horsepower unit has adequate power capacity for most operations, including the power-guzzling tillage operations for a small vegetable farm. The only caution is in regard to bed forming tasks. You may need to make a couple of passes or rely on a neighbor’s tractor for that particular task. Forming a 4-foot production bed requires a60-70 horsepower 2-WD for single-pass operation.
The tractor must have a slow first gear, sometimes referred to as creeper gear, for transplanting and harvesting. An infinite speed option or hydro static drives are also nice, but not essential. A good hydraulic system is required, with both auxiliary hydraulic lines and a three-point hitch system. In order to accommodate most implements, check the three-point hitch system to ensure it is at least a Category II. Lastly, good ground clearance is essential for cultivation and harvesting. Hybrid utility/farm tractors are becoming popular for landscapers and homeowners, however, they often lack adequate clearance for vegetable farm use.
Tillage
Tillage is divided into primary and secondary. Tillage is common on most vegetable farms as it provides for a clean, firm seedbed, allows for the use of raised beds and plastic mulch, and can help incorporate old crop residue and manure. Tillage does destroy organic matter--the farmers’ best friend to build soil tilth and structure. Therefore, it is important to strike a balance that works for your operation. Only till when really needed, explore no-till options, and at all costs avoid tilling wet soils.
Primary Tillage
Primary tillage includes the first tillage pass to non disturbed land, usually by means of a plow. A moldboard plow is used most often. However, a chisel plow also works. A 2- or 3-bottom moldboard plow can easily till a small vegetable farm in 1-2 days. Moldboard plows are easily repaired and readily available used. A chisel plow uses several shanks to break up the topsoil. Chisel plows are popular because they disturb less soil, do not leave compaction layers as easily as the moldboard, and leave more residues (organic matter).
Farmers facing compaction problems may also consider sub-soiling at this stage. Sub-soilers are tillage implements with long heavy shanks that break up compaction layers within the soil. I do not recommend small farmers purchase sub-soilers because they are expensive and require 50-60 horsepower per shank to operate. Consider having sub-soiling done by a custom operator with specialized equipment.
Secondary Tillage
Secondary tillage is used to finish the land in preparation for transplanting or forming beds. There are endless possibilities for achieving this task. After the primary tillage pass, farmers normally finish preparing the land in 2-3 additional passes with a disc and harrow. The most popular option is the use of a disc harrow followed by a finishing harrow. A culti-packer can help remove clods and firm the seedbed as well. Some small farmers have rota-vators or roto-tillers, which can quickly finish land preparation. These must be used with caution, as they can also destroy soil structure very quickly, especially if the soil is too moist.
Plasticulture Equipment
Plasticulture is the use of plastic mulch, raised beds, and drip irrigation (either in combination or separately) and it has revolutionized the vegetable industry. Plasticulture gained popularity in the 1980s and has become a standard for most vegetable crops in the United States. Increased yields, better quality, and earlier harvest will result from plasticulture use--especially in muskmelon, tomato, green pepper, cucumber, squash, eggplant, watermelon, and okra. The following is a description of the various equipment options required for each plasticulture component.
Plastic Mulch and Raised Beds
Plastic mulch and raised beds work together to provide an ideal environment for vegetable growth. The plastic warms the soil, prevents weed growth, and controls moisture while the raised bed provides for a deeper soil profile and better drainage around the root system.
Creating a raised bed on a small farm can be accomplished in one of two ways. The easiest is the use of a raised bed mulch layer, an all-in-one machine that creates the bed, lays the plastic, and lays the drip line in one pass. These machines require 60-70 horsepower to operate adequately. The other option is to use a bed forming machine in the first pass, followed by the plastic layer in the second pass, which requires less horsepower but more time and machinery expense.
It is important to take time to ensure the bed is as tight and tall as possible. A 6-8 inch bed is recommended for most crops. The last option is to use a flat plastic layer, and eliminate the raised bed from the systems. The flat plastic mulch layer does not form a bed, however is simpler in design and requires only 30-35 horsepower to operate.
Mulch Grades
Growers may use either embossed plastic or smooth plastic film. Embossed plastic will stretch tightly over raised beds, resist tearing and wind damage, and is a superior grade to slick or smooth grade. Raised beds are normally covered with the embossed plastic. Smooth plastic is less expensive and works well for flat beds. However, it will expand in the summer heat and tends to tear easily on a raised bed system. Mulch thickness varies depending on brand and manufacturer, but the standard is 1 to 1.25 mil plastic for one season durability.
- Mulch Color
- Black: Black plastic is the most common as it does the best job of preventing weed growth. Black will cause the soil to warm quickly in the spring, and may be a problem for heat-sensitive crops in the summer. Black plastic should be used on muskmelon, tomato, green pepper, cucumber, squash, eggplant, watermelon, and okra.
- White on Black: White on black uses a reflective white layer on top of a standard black layer. The advantage of this design is reduced heat on sensitive crops such as cut flowers. The black under layment serves to restrict weed growth more effectively than white alone.
- Clear: Clear plastic will warm the soil the quickest of any mulch. It is most commonly used for sweet corn to promote quick germination and spring growth. After the corn emerges, holes must be punched and later split to prevent the temperature from injuring plants. The plastic can be purchased pre-cut. Clear plastic will not impede weed growth.
- Green: Green plastic is a compromise between black and clear. You will obtain better weed control than clear, and also obtain quicker warming than black. Be cautious if using this on anything other than sweet corn, as weed control is not satisfactory for season-long use.
- Red: Certain red plastic has been shown in some research trials to show slight increase in yield in tomato crops. This is due to the reflection of the light spectrum most favorable to growth back into the foliage canopy. I advise growers to experiment with red plastic on a small scale to see if it is suitable for their operation. It is more expensive than black plastic.
- Black: Black plastic is the most common as it does the best job of preventing weed growth. Black will cause the soil to warm quickly in the spring, and may be a problem for heat-sensitive crops in the summer. Black plastic should be used on muskmelon, tomato, green pepper, cucumber, squash, eggplant, watermelon, and okra.
Drip Irrigation
If using plastic mulch, you will also need to use drip irrigation under the mulch to provide water. Drip irrigation can be used without the mulch as well. The advantages of drip irrigation are numerous, but the key advantage is being able to apply water and fertilizer in a controlled manner directly to the plant root zone. This enables the farmer to reduce water use by up to 50 percent, reduce foliage disease, precisely tailor nutrient application, reduce labor needs, and irrigate from smaller water sources under lower pressures.
The drip irrigation system has many components; however, the system is simple to set up for small operations. Components include the water source, pump, filtering systems, fertilizer injector, distribution lines (header lines), fittings and couplings, and finally drip tubing or tape. Please see the fact sheet from Penn State regarding a complete drip system for further information.
Water Source
Drip irrigation requires a clean water source. Organic matter and particulates will clog filters and drip line emitters. You may either use surface water from a pond or stream, groundwater well, or artesian well. If using a pond, be sure to calculate quantity of water available and recharge rate. A typical system on 5 feet row centers with 1 line per row at 10 PSI will use 30-40 gallons per minute per acre. If using a well, determine the available water discharge capacity.
City water, though expensive, may also be used. The main criteria is to have clean water. If using surface water, a sand filter is essential. Be sure to use a back flow check valve to ensure water does not flow back into and contaminate the original source.
Pumps
Most small farms use a small (5.5 hp) gas pump to irrigate 2-3 acres at one time. It is recommended to buy a good brand high quality pump that is dependable and has a gas tank capacity for long (2-3 hour) run times. Electric pumps will also work if power is available and they are convenient to turn on and off. Pumps can be chosen to fit acreage and water specifications. Refer to the fact sheet for information and charts for determining sizing requirements.
Filters
Pond or surface water must first be sent through a sand filter. Sand filters are large tanks filled with filter grade sand. As the water passes through them, large particulates are removed and trapped within the sand. These particulates are then washed out of the system through back washing.
Sand filters allow for high flow rates of water and removal of large amounts of particulate matter. As the filters become clogged, the pressure will drop and back washing is required. Once through the sand filter, another secondary filter screen or disc filter is used to ensure the water is clean. These filters are not capable of handling large amounts of particulate material, so the water in the system must be fairly clean at that point.
Fertilizer Injector
Fertilizer injectors are used to add fertilizers to the irrigation system. Injectors can simply use a venture-type system to pull the fertilizer solution into the irrigation stream or a more accurate water powered injector may be used. Water powered injectors use the water flow to pump fertilizer solution into the system at preset ratios. A commonly used injector is the Dosatron.
Distribution System
Once through the filter system and injector system, water is carried to the individual rows through a distribution line. Two types of material are commonly used for this--vinyl lay-flat line or poly flat tube lines. These lines are easily maneuvered and are designed for low to mid pressures. Vinyl lay-flat can withstand higher pressures and is easy to roll up. The distribution lines are punched with a small insert tool and small diameter spaghetti tubing inserted into the line for distribution directly to the drip line.
Fittings and Couplings
There are numerous fitting and couplings available. The spaghetti hookup tube is inserted into the lay-flat line with a specialized coupling and to the drip line with another coupling. Be sure to order a few extra fittings and also many extra drip tape couplings to patch holes in the field. Fittings are inexpensive and it is a good idea to have some extras around.
Drip Line
The drip line or tape contains emitters spaced at intervals from 4-24 inches. Most vegetable crops require the 8 or 12 inch spacing. On very sandy ground or on crops requiring high water use, you may use the tape with shorter emitter spacing. The tape is also available in different water flow rates, measured in gallons per minute per 100 feet of tape (GPM/100ft). Standard flow rates range from .40 to .50 GPM/100ft. A general rule of thumb for the Mid-Atlantic area for maturing vegetables in the summer is a .50 GPM/100ft drip line will need to be run for 2-3 hours to supply adequate water. Drip line is installed with the plastic layer or can be pulled by hand on crops without mulch.
Removing Plastic and Mulch
One of the largest downfalls to a plasticulture system is the removal and disposal of old plastic at the end of the system. A mulch lifter may be used to lift the plastic from the bed. However, the removal of the mulch and drip lines are laborious tasks. In addition, you must dispose of the plastic.
Planters and Transplanters
Small farms will normally have at least two planters for direct seeding and transplants.
Direct Seed
Direct seeded crops such as sweet corn, beans, pumpkins, gourds, sunflowers, etc., will require a direct seeding drill or planter. A two-row model is more than sufficient for a small operation. Planters for direct small seeded crops such as the brassicas are more specialized and often use vacuum or air pressure to disperse seed. A converted two-row corn planter is often used on small farms for the large seeded crops. Another option to consider is the use of a no-till planter to reduce tillage and build organic matter. Strip-till and no-till technology allow direct seeded crops to be planted directly into crop residue.
Transplanters
For plastic mulch a water wheel transplanter is most often used. Water wheel transplanters place a hole in the plastic and soil, and the transplant is manually set by a person riding on the machine. Mechanical transplanters that also set the plants are available, but their cost normally precludes their use on small farms. For fields other than plastic mulch, transplants may be set with a transplanter, such as a tobacco transplanter or vegetable transplanter.
Harvesting Needs
Harvest of most vegetable crops is done manually. The availability of harvesting buckets and a harvest cart or wagon is all that is needed. Some farmers use conveyors 20-25 feet in length to harvest cucurbit crops. The elevator spans across wagons into the field and pickers place the melons on the conveyer where they are carried to the wagon for packing. A 5-acre farm should have at least 100 five gallon buckets or lugs and at least 1 wagon or cart.