Growing and care of vegetable seedlings (transplants)
After starting seeds indoors, follow these tips and guidelines for good care of your young plants.
Light
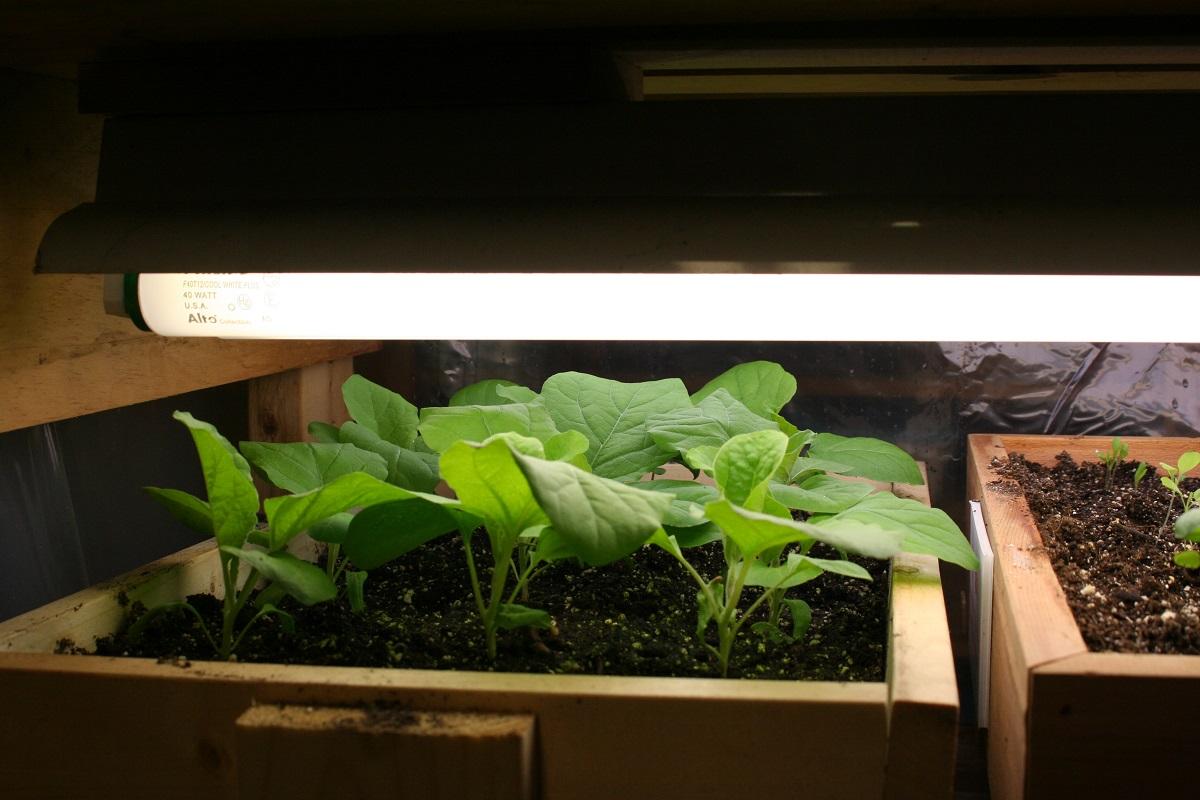
- After germination, seedlings require strong light from grow lights. Natural light from a window is seldom enough for good, strong seedling growth. Plant stems usually stretch and lean towards the light and will not produce sturdy plants. Acceptable plant growth usually only occurs in south-facing bay windows or solariums.
- Fluorescent light fixtures and tubes are the best choices for growing seedlings indoors. Place your plants 1-2” beneath a fluorescent fixture for 14 to 16 hours a day. This will increase light intensity and keep plants stocky and strong. Attaching the thin chain or wire to either end of your light fixture will allow you to raise and lower the tubes.
- Tomato and cabbage family plants are prone to stretch toward the light. Pepper, eggplant, and lettuce will stay compact.
Water
- Lack of uniform watering, overwatering, and drying out are problems associated with seeding care. Wait until the top of your growing medium is nearly dry before watering. You can either apply water to the surface or allow your growing medium to wick up water by setting your containers on a shallow pan.
- Water to keep the growing media moist, but not wet.
- The goal is to keep the root systems supplied with water and oxygen. If your containers are saturated with water, the roots will stop growing and pathogenic fungi that like wet soil can infect your plants. The “damping-off” fungi, Pythium, Phytophthora, and Rhizoctonia, can quickly kill a container of seedlings if the growing media is kept too wet. If an infection occurs, dispose of the plants and growing medium, wash containers and tools to remove any debris, and soak them for 1-2 minutes in a solution of 1 part chlorine bleach to 10 parts water. Then rinse with clean water.
Fertilizer
- Hold back on fertilizing your seedlings. Most potting mixes contain enough fertilizer to grow a seedling for 5-6 weeks.
Temperature
- After germination, seedlings can be given somewhat cooler conditions, with a 55-60°F night temperature and a 65-70°F day reading.
Potting up seedlings to larger containers (transplanting)
- If plants have not been seeded in individual containers, they must be potted up (a.k.a. “pricking out” or “transplanting up”) into a larger individual container to give them proper growing space.
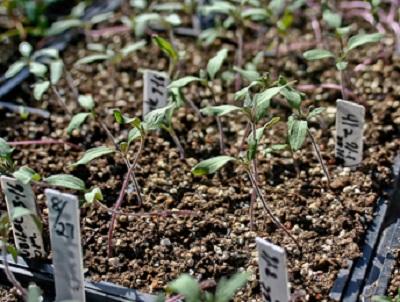
- One of the most common mistakes gardeners make is leaving seedlings in the seed flat too long.
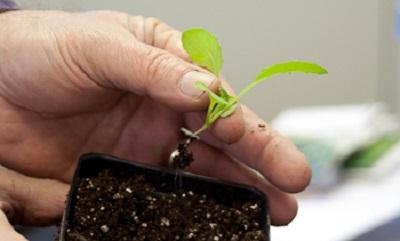
- The ideal time to transplant young seedlings is when they are small and there is little danger of setback from root shock. This is usually about the time the first “true leaves” appear above or between the cotyledon leaves (the cotyledons or “seed leaves” are the first leaves to appear).
the center are true leaves.
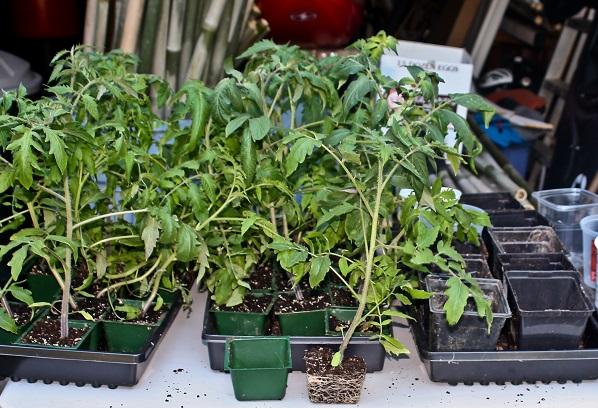
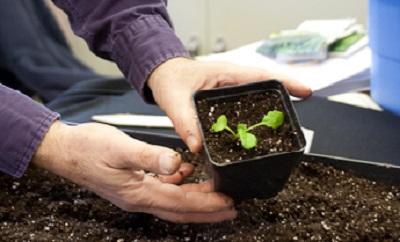
containers until it is time to plant them outside
Containers for transplants
- Commercially available containers such as peat pots, plastic pots, or cell packs make the best use of space as they fit close together in trays. Recommended individual cell sizes:
- Lettuce, beets, spinach, kale, and other greens- 1-2 in. square
- Squash, cucumber, broccoli, and cabbage- 2-3 in. square
- Tomato, eggplant, and pepper- > 9 in. square
- Peat pots can be planted directly into the garden. Be careful to cover the pot completely with garden soil. If the top edge of the peat pot extends above the soil level, it may act as a wick and draw water away from the soil in the pot. To avoid this, tear off the top lip and bottom of the pot and then plant flush with the soil level.
Growing media and fertilizer for transplants
- Never use garden soil for your transplants. It’s too dense (about 75 lbs. /cubic foot) to grow healthy transplants and probably contains weed seeds and plant pathogens. Look for soilless growing media, which does not contain mineral soil. It is light (10 lbs. /cubic foot), porous, and drains well. Typical ingredients are peat moss, vermiculite, perlite, a little lime, and fertilizer. Read product labels for ingredients and reject products that feel heavy (these are usually labeled as “planting soil”).
- Soilless mixes contain a small amount of added soluble nutrients. If your transplants are to be grown for more than 6 weeks you may need to fertilize with a soluble fertilizer. Follow label directions for indoor plants or transplants.
- Wash off any liquid fertilizer that contacts foliage. Young seedlings are easily damaged by too much fertilizer, especially if they are under any moisture stress.
- A high-quality screened compost can be mixed 50-50 with a soil-less mix to grow transplants. The compost provides additional nutrients.
How to transplant seedlings
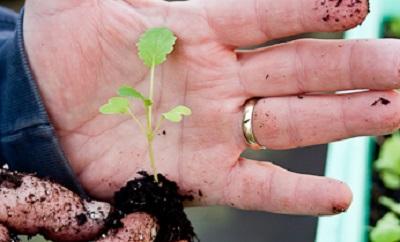
- Carefully dig up the small plants from the seedling flat or container using a butter knife or wooden plant label and gently ease them apart in small groups to make it easier to separate individual plants. Avoid tearing roots in the process.
- Handle small seedlings by their leaves, not their delicate stems.
- Make a hole in the medium into which the seedling will be planted. Set the seedlings so that the leaves and growing point are only slightly above the soil line (most of the stem can be buried).
- Firm the media around each plant and water gently.
- Continue to light them for 14-16 hours per day, keeping the tops of the transplants 1-2 in. from the lights.
- Gently brushing the tops of your transplants with your hand or wooden stick will help control their height and increase stockiness. Ideal transplants are as wide as they are high.