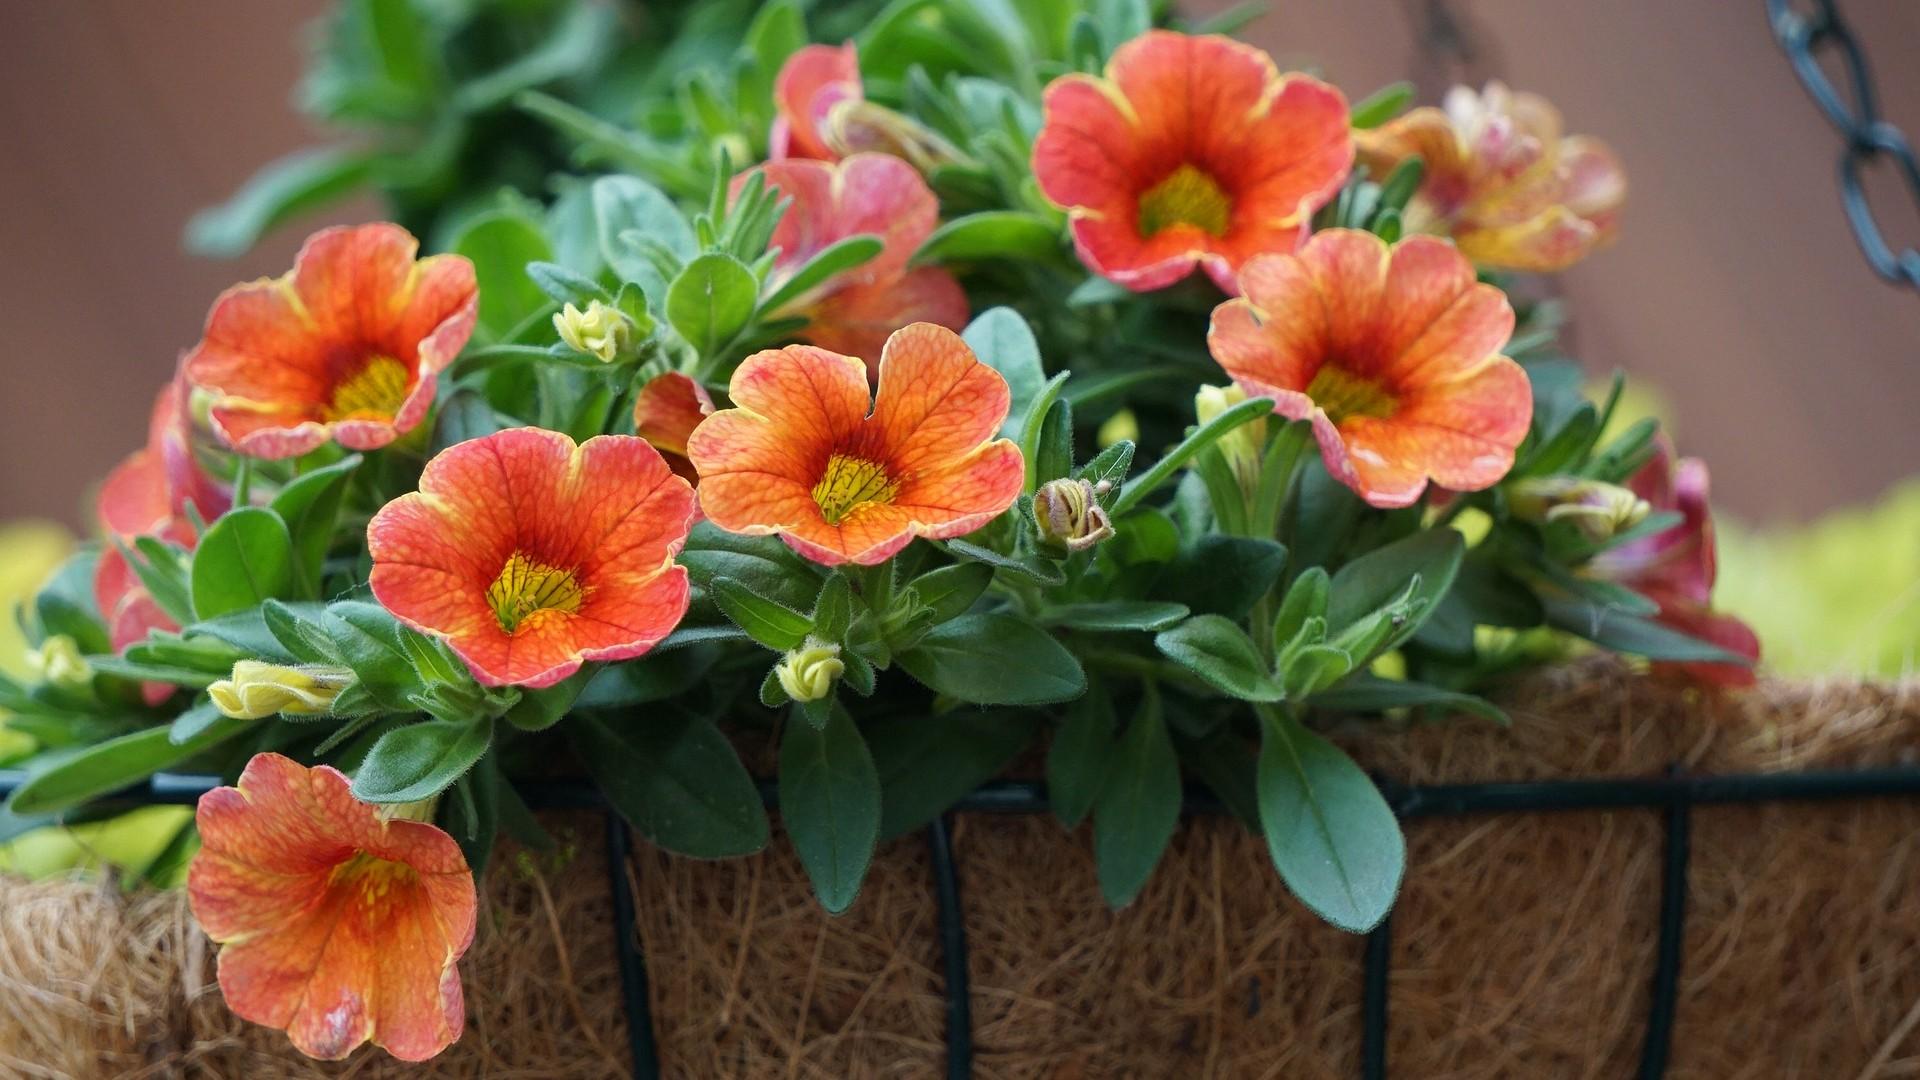
Annual flowers complete their life cycle in one growing season, during which time they grow, flower, and produce seed. Although some varieties will self-sow, or naturally re-seed themselves, the parents of each seed are unknown and certain desirable characteristics may be lost. Self-seeders such as alyssum, petunia, and impatiens will scatter seed freely in perhaps undesirable areas.
Annuals are easy to grow, produce instant color, and most importantly, they bloom for most of the growing season. Plant breeders have produced many new and improved varieties. The main disadvantage of annuals is that you must sow them from seed or set them out as plants every year, which involves some effort and expense.
Annuals offer you a chance to experiment with color, height, texture, and form. If you make a mistake, it’s only for one growing season. Use them for filling in spaces until you install permanent plants or after an earlier perennial or bulb is already gone. They extend perennial beds and fill planters, window boxes, and hanging baskets.
They should be planted outside after the danger of frost has passed and soil temperatures have begun to warm. In central-Maryland, this is about the second week of May.
Annuals seeded in the garden frequently fail to germinate properly because the surface of the soil hardens and prevents entry of water. To prevent this, sow the seeds in vermiculite-filled furrows.
- Make furrows in the soil about ½-inch deep. If soil is dry, water the furrow, then fill it with fine vermiculite and sprinkle with water.
- Then make another shallow furrow in the vermiculite and sow the seed at the rate recommended on the package.
- Cover the seed with a layer of vermiculite. Using a nozzle adjusted for a fine mist, water the seeded area thoroughly.
- Keep the seedbed well watered or cover with a fine mulch to keep the sprouting seeds moist.
- Avoid sowing seeds in mulched areas unless directed. Germination rates are generally very low when planted in mulch.
After outdoor-grown annuals develop the first pair of true leaves, thin them to the recommended spacing. Thinning allows plants enough light, water, nutrients, and room to develop fully. If they have been seeded in vermiculite-filled furrows, excess seedlings can be transplanted to another spot without injury. (Zinnias are an exception to this rule.)
Transplants
You can begin a flower display several weeks earlier if you set out transplants rather than sow seeds. This is especially useful for annuals that must grow several months before blooming. Buy healthy, vigorous, annuals or start your own.
Before setting out transplants, harden them off by exposing them to gradually increasing time outside. The plants will receive more light and cooler temperatures, improving their vigor.
- For each plant, dig a hole large enough to accept its root system comfortably.
- Remove transplants from plastic cells or fiber containers. Lift out individual plants with a block of soil surrounding their roots. When setting out plants in peat pots, set the entire pot in the planting hole but remove the upper edges of the pot so that all of the peat pot is covered when you firm soil around the transplant.
- Allow plenty of space between plants to give them room to develop.
- Set the plants in their holes and backfill so the plants sit at the same level as they did in their containers.
- After transplanting, water with a balanced, granular or soluble fertilizer. Follow package directions.
