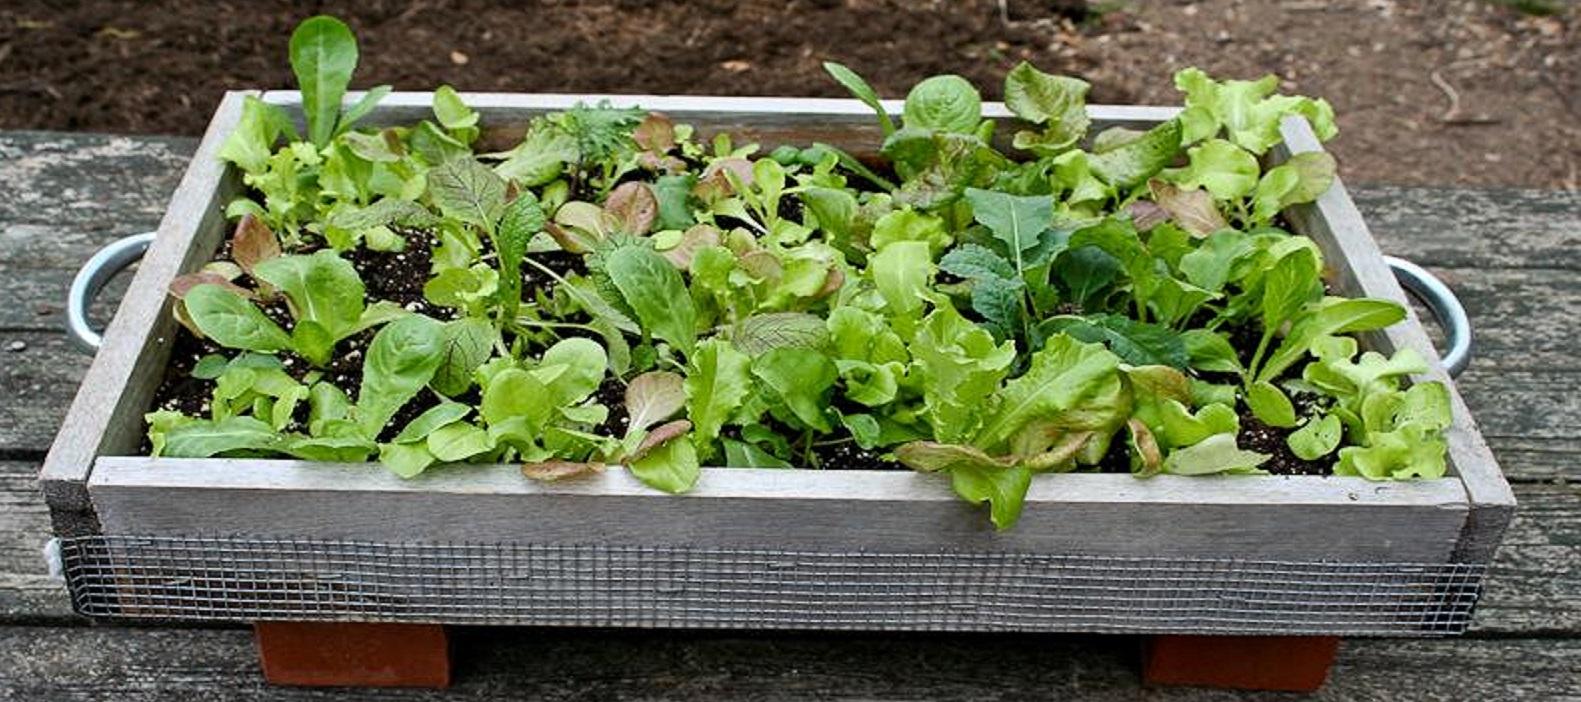
A Salad Box™ is another name for a table-top garden
A Salad Box™ is small enough to fit on a small table but large enough to grow several harvests of salad greens or herbs. It's definitely large enough to grow your interest in vegetable gardening!
Materials
- Pine or cedar board (1 x 4) 6 ft. long
- 1 ¼ in. galvanized deck screws
- Aluminum window screening
- ¼ in. hardware cloth
- 3/8 in. staples
- Handles (optional)
Tools you may need
Handsaw, hammer, drill, #2 Phillips screw bits, tape measure, square, tin snips (to cut screening and hardware cloth), staple gun, leather gloves (hardware cloth can poke you a bit).
Directions for building a salad box
- Cut one 6’ pine or cedar board (1 X 4) into four pieces- (2) 15” pieces and (2) 21” pieces. If using pine, ask for “clear” or “#2”; the latter is less expensive. Use a wood rasp to clean up rough edges after cutting your wood pieces.
- Use 1 ¼ in. long galvanized screws to attach one long piece to the two short pieces. Repeat with the other long piece. Drill pilot holes with a 1/8” drill bit before driving in the galvanized screws.
- Lay aluminum window screen over the box and cut it so that the window screen is even with the box ends (short pieces) and extends over the edge of each long piece by 3 inches on either side. Staple it tightly to the box bottom.
- Repeat the same procedure with the ¼ in. mesh galvanized hardware cloth, except that you should cut it so that it only extends 2 inches up the sides (long pieces) on each side. Staple it to the bottom and also the sides. Then, fold down the window screen over the hardware cloth edge to make a seam and staple securely.
- Apply an acrylic stain or latex paint to extend the useful life of the box.
Alternative construction methods
- Use finishing nails instead of screws to build the box, or use a combination of the two.
- Add handles or cleats to the ends for easy lifting and moving (the box weighs about 12-15 lbs. when filled with moist growing medium and plants).
- Nail or screw two 21” pieces of wood to the bottom of the box so that the bottom of the box is off the ground.
- Build the box with just window screening (and bottom boards) or just hardware cloth (no bottom boards; cover bottom with newspaper before adding the growing media.)
- Use 1 X 6 wood for a deeper box and greater rooting area. This increases expense and weight but allows crops to grow larger.
- Cover the edge of the window screen and hardware cloth on all four sides of the frame with wood molding, duct tape or other material.
Note: Finished box weighs about 12-15 lbs. when filled with moist growing medium and plants.